The values for C3 are:
-
0.015uF
-
0.026uF
-
0.47uF
-
1.0uF
-
4.7uF
The values for C4 are:
-
0.015uF
-
0.026uF
-
0.47uF
-
1.0uF
-
4.7uF
-
10uF
S4 and S5 are combined into
a single DP6T rotary switch as shown:
(NOTE: where it says "Output" should
be more appropriately labeled "positive side of C5")

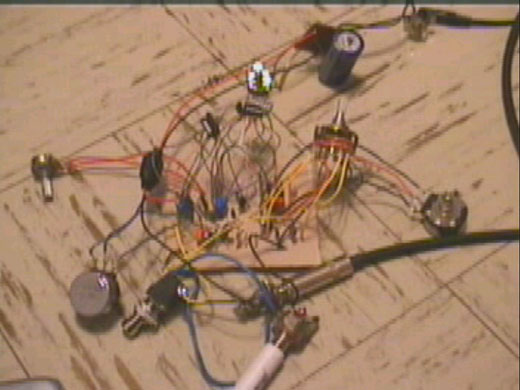
Here's my PCB for all those who
have been waiting for it (thanks to JD Sleep for the PCB templates!)
(NOTE: resize to scale before printing,
and if you feel the need, flip it horizontally.)
This layout is a little tight for
the capacitors, though there is room to space them out if you draw the
traces a little differently.
Here's the wiring diagram.
Really just a badly labelled PCB layout:
Here's a sample of Bill Bergman's
take on the layout (Thanks Bill!):
The expansion board for the switches
and caps looks promising. That will clean up a lot of the offboard
wiring.
(NOTE: his entire layout including
my notes are available here as a zipped Power Point File. This gif
file isn't as good as the ppt because of a lack of detail/resolution.
Bill told me about it being a raster-farian or something : )
interlard.zip
Now once you have this done,
you'll need to start playing
with all the knobs and switches to get some sounds out of it.
There are a lot of dead zones,
and even more squealy settings.
What we want is a setting that
is just on the edge of squealy.
The following is a set of instructions
of simply tuning the interlarder to get a sound.
Do the following in a remote
location or while everyone is out of the house. If you live in an
area where air-raid sirens are the norm, be sure to warn your neighbours
and local authorities that you will be working on a new noise-maker.
-
Plug in your Interlarder make sure
you have the power connected. But don't turn on your amp yet.
-
Turn S1 and S2 off (open circuit) and
S3 to open circuit if available (DIP switch wiring) or to the smallest
capacitance (rotary switching).
-
Switch the transistor selector switch
(S4) to PNP transistor (Q4) and switch the output selector to tap the collector
junction of Q1 and Q2.
-
Turn all the knobs to one extreme or
the other, I reccommend R1 on no resistance, and R8 on no resistance to
ground from wiper, R2 shouldn't matter that much at this point, as long
as it is at an extreme.
-
Plug in your guitar, with the volume
turnted down.
-
Turn on your amp with the volume at
0, then turn it up slowly to a low, but audible volume. You may hear
a hum.
-
Slowly turn down R1 it should click
or pop once or twice and any hum should dissapear.
-
Slowly turn up (or down) R8
-
Once you hit a squeal back off slightly
and play a chord
-
If you still get no sound turn all
pots to the other extreme and start again.
-
If you still get no sound after playing
with pots, then fiddle with the switches and pots
Here are some working voltages,
your's will vary depending on the settings.
-
Power Source = 9.18V at 1.5mA
-
Positive Supply Rail (after R1) = 0.781V
-
Q1-PNP: (E, B, C) = (0.779, 0.315V,
0.778V) (perhaps the guitar signal
provides the "turn-on" voltage?)
-
Q2-NPN: (E, B, C) = (0.9mV, 0.473V,
0.778V)
-
Q3-NPN: (E, B, C) = (46.6mV, 46.6mV,
0.734V)
-
Q4-PNP: (E, B, C) = (0.734V, 66.6mV,
46.6mV)
These are just the voltages for the
initial setting (maybe with a few knob twists to focus. You should
be able to run the interlarder for a few years on one battery, not only
because it draws very little current (on some settings), but it also works
with a 9Volt battery running at 4 Volts.
This completes the Interlarding
Fuzz page thus far. Check Mr. Bergman's layout for more Interlarding
notes.
Maybe it would be a good idea if
I posted other settings (cap combinations and pot positions), so if you
find something good tell me and I'll post it.
Contact me if you have any questions,
concerns, problems, ideas, or anything else that I can assist you with.
krustykorp@hotmail.com