Thanks to Everyone on the Stompbox
forum, especially JD for the layout and the awesome site!
The text is copied from what I
wrote on the board, with pictures.
I thought I'd give it a go, seeing
as I've had the board and etchant for several months
now. I used J.D.'s layout for the
muff fuzz. Thanks JD your site is an excellent resource!
I probably should have read it
all yesterday before I did it, but you know how these
things go. (I hadn't seen it, but
I hadn't really looked.)
It was pretty much a test of seeing
if this was possible for me to do. A few things could
have been done differently, but
that'll have to wait for next time. (I just read the etching
tutorial 5 minutes ago.) Mark has
some good tips too, I'd like to try that centre punch
(are those available at any hardware
store?)
Here's what I did anyway:
I cut (scored then snapped) a 8"X2"
strip off my three foot long copper-topped board
($6.00 CAN). Polished with an SOS
pad (no regular steel wool at home), and cleaned
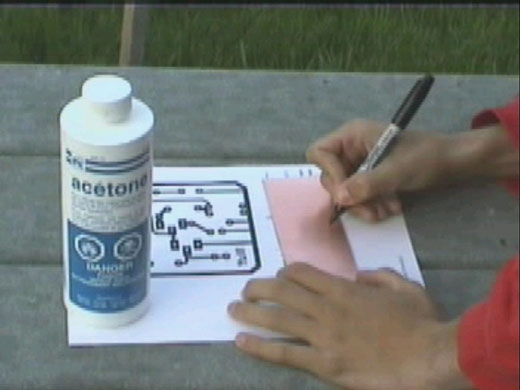
with acetone. Cut a 2" square from
the strip, sanded (the sides) and cleaned (the top)
again.
Then got my friend to draw on the
layout, using a black sharpie (the dual fine and ultra
fine tip)...since kindergarden
I've had trouble colouring within the lines, and drawing
straight lines...so he pretty much
eyballed it using a resistor and transistor as a dimension
reference.
Next Page...Continue